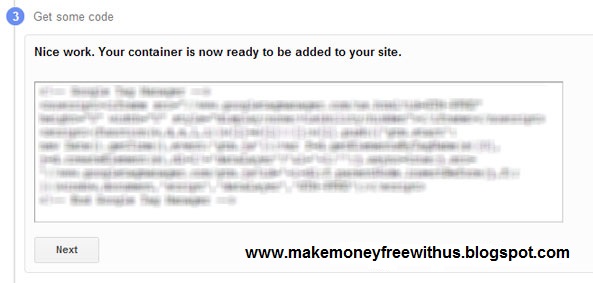
Perform below steps to make use of Google Tag Manager for site verification.
- Go to Google Tag Manager and sign up for a account.
- Now you have to create a container. To do this fill a very simple form by entering your container name (enter your blog name or anything else of your choice), time zone, domain URL etc.
- Now paste your container code into your blog template under </head> tag and save the template.
- Now come back to your Google Tag Manager Account page and follow the last step of filling some tags in container. You can skip this step. Click on I'll add tags later.
- Make sure that you have all the permissions like View, Delete and Manage to verify your site easily.
- Now Log in to your Google Webmaster Tools Account.
- Now choose that site which you want to verify and click on Manage site button and select verify this site.
If you have not added any site yet, then click on Add a site button at the top right corner to add new site.
- Now you'll redirect to verification page. Select Google Tag Manager from the verification methods.
- Click on verify button.
- You are done!


Post a Comment